
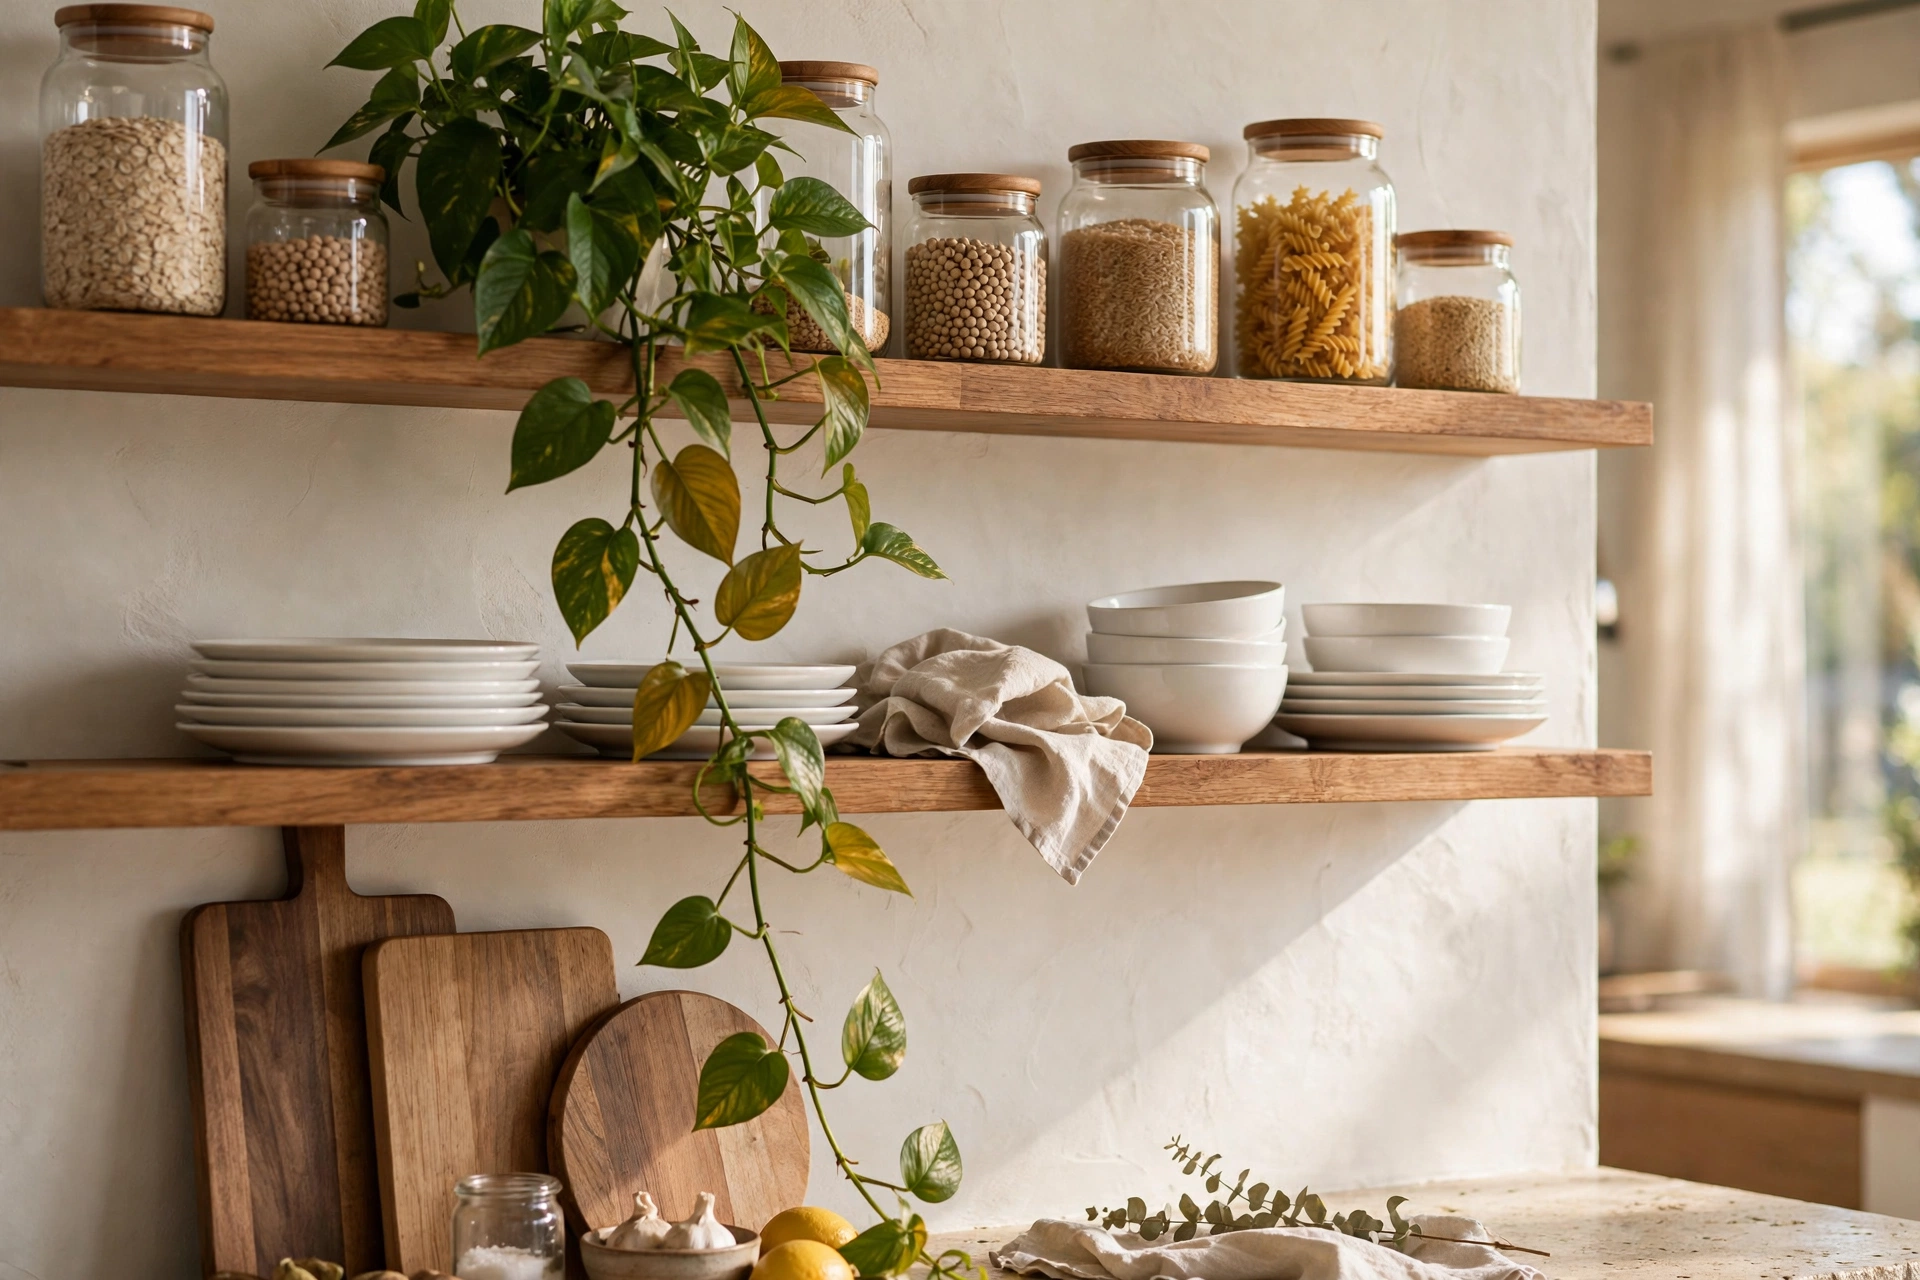
Open shelves are the jewelry of the kitchen — small, visible, and capable of changing the whole look of the room. But there’s a fine line between “effortlessly styled” and “cluttered mess.” The difference comes down to a few simple principles: group with intention, mix materials, and leave breathing room. Here are twelve ideas to make your shelves look like they belong in a magazine.
1. Start With What You Actually Use
The best-styled shelves are honest ones. Stack the plates, bowls, and glasses you reach for daily — they’ll look natural because they are, and constant use keeps dust from settling. Reserve the top shelf for the beautiful-but-rarely-used pieces, and keep everyday items at arm’s reach on the lower shelf.
Budget tip: You don’t need new dishes — a mismatched-but-coordinated set in whites and creams looks more expensive than a cheap matching set.
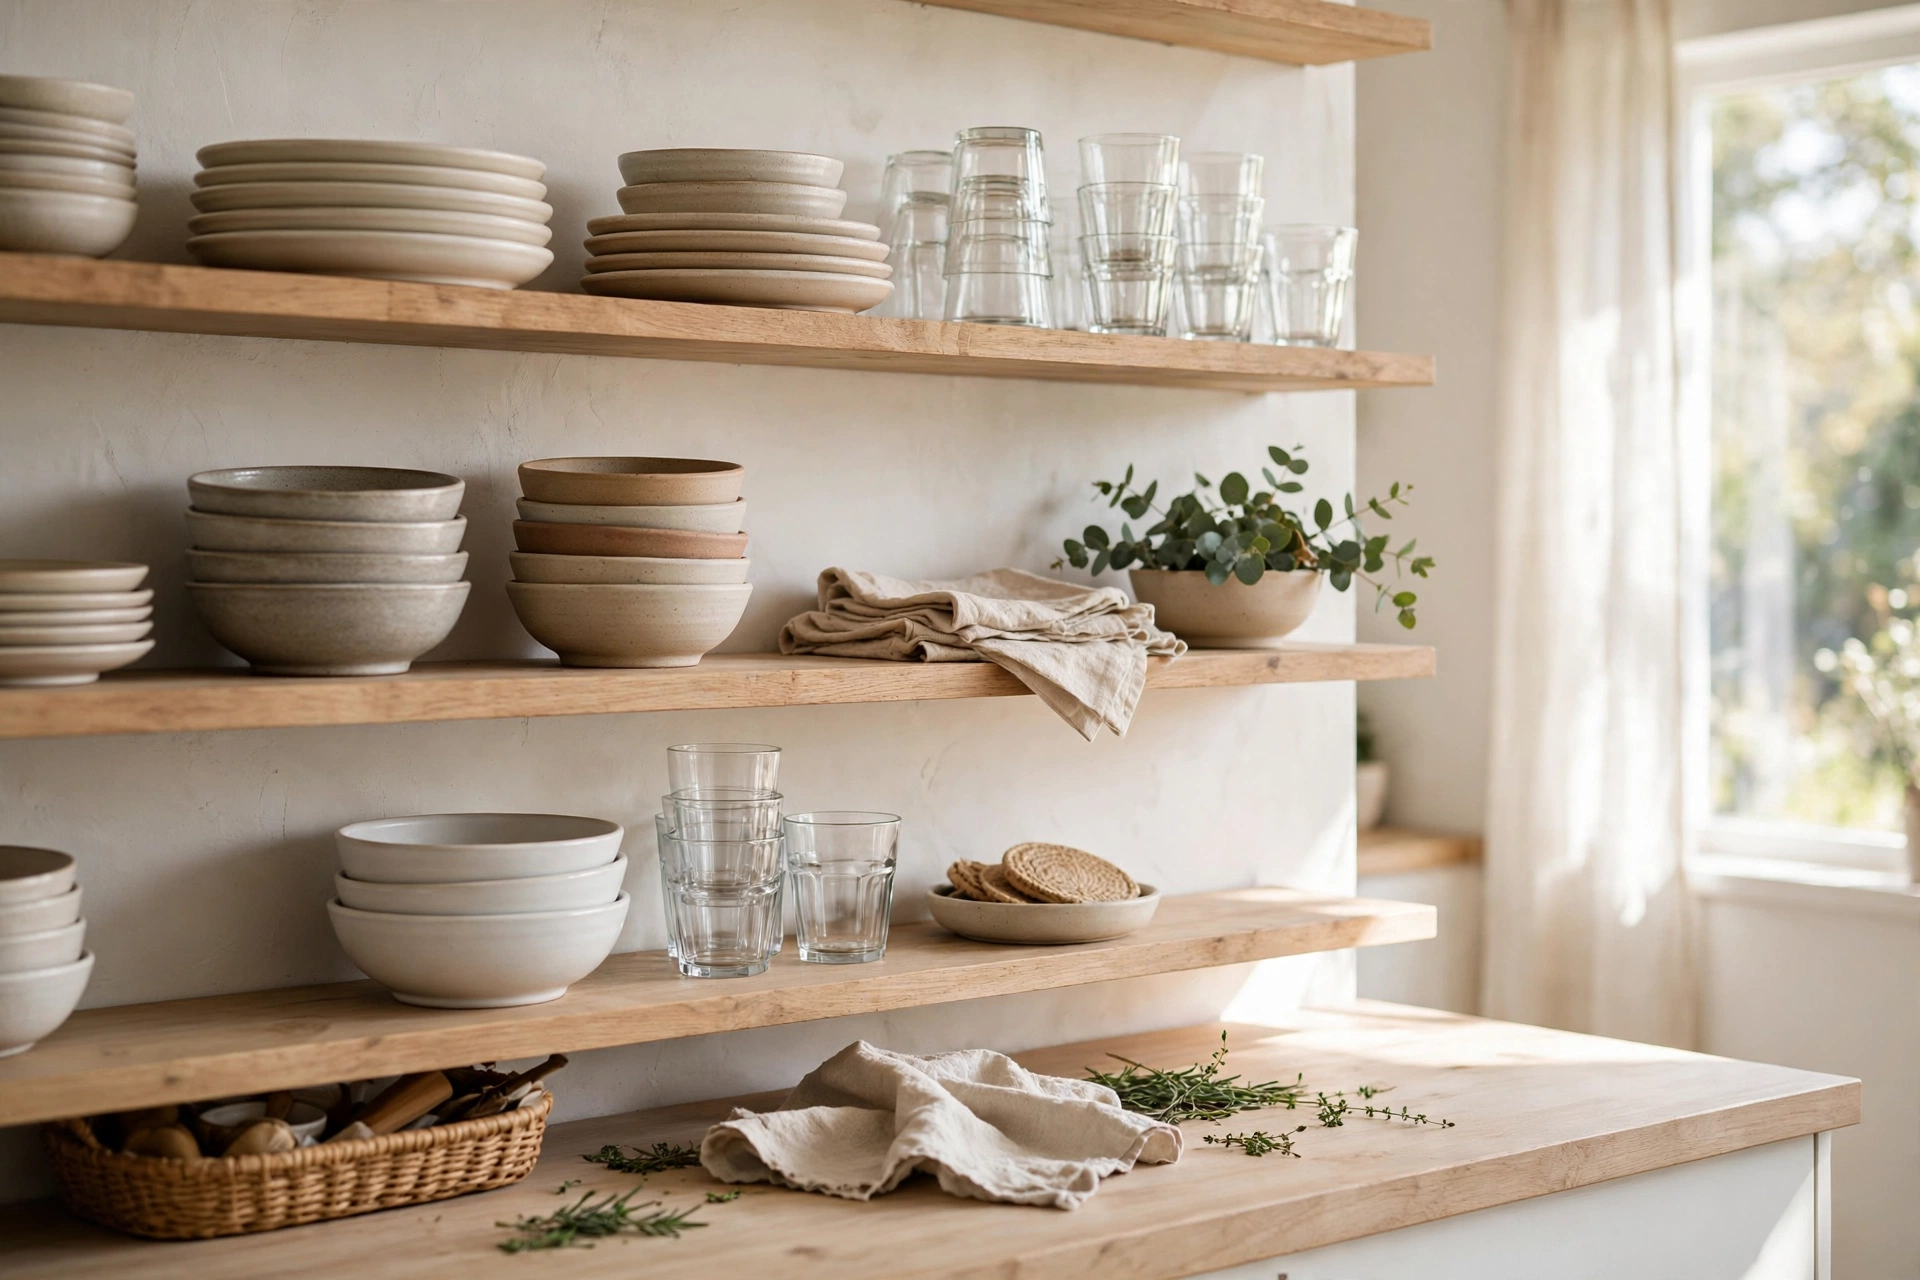
2. Group in Odd Numbers
Designers swear by odd-number groupings, and shelves are no exception. Three stacked bowls, five small jars, a single plant — odd numbers feel dynamic and intentional where even numbers can look stiff. This one rule alone will make your shelves look noticeably more “designed.”
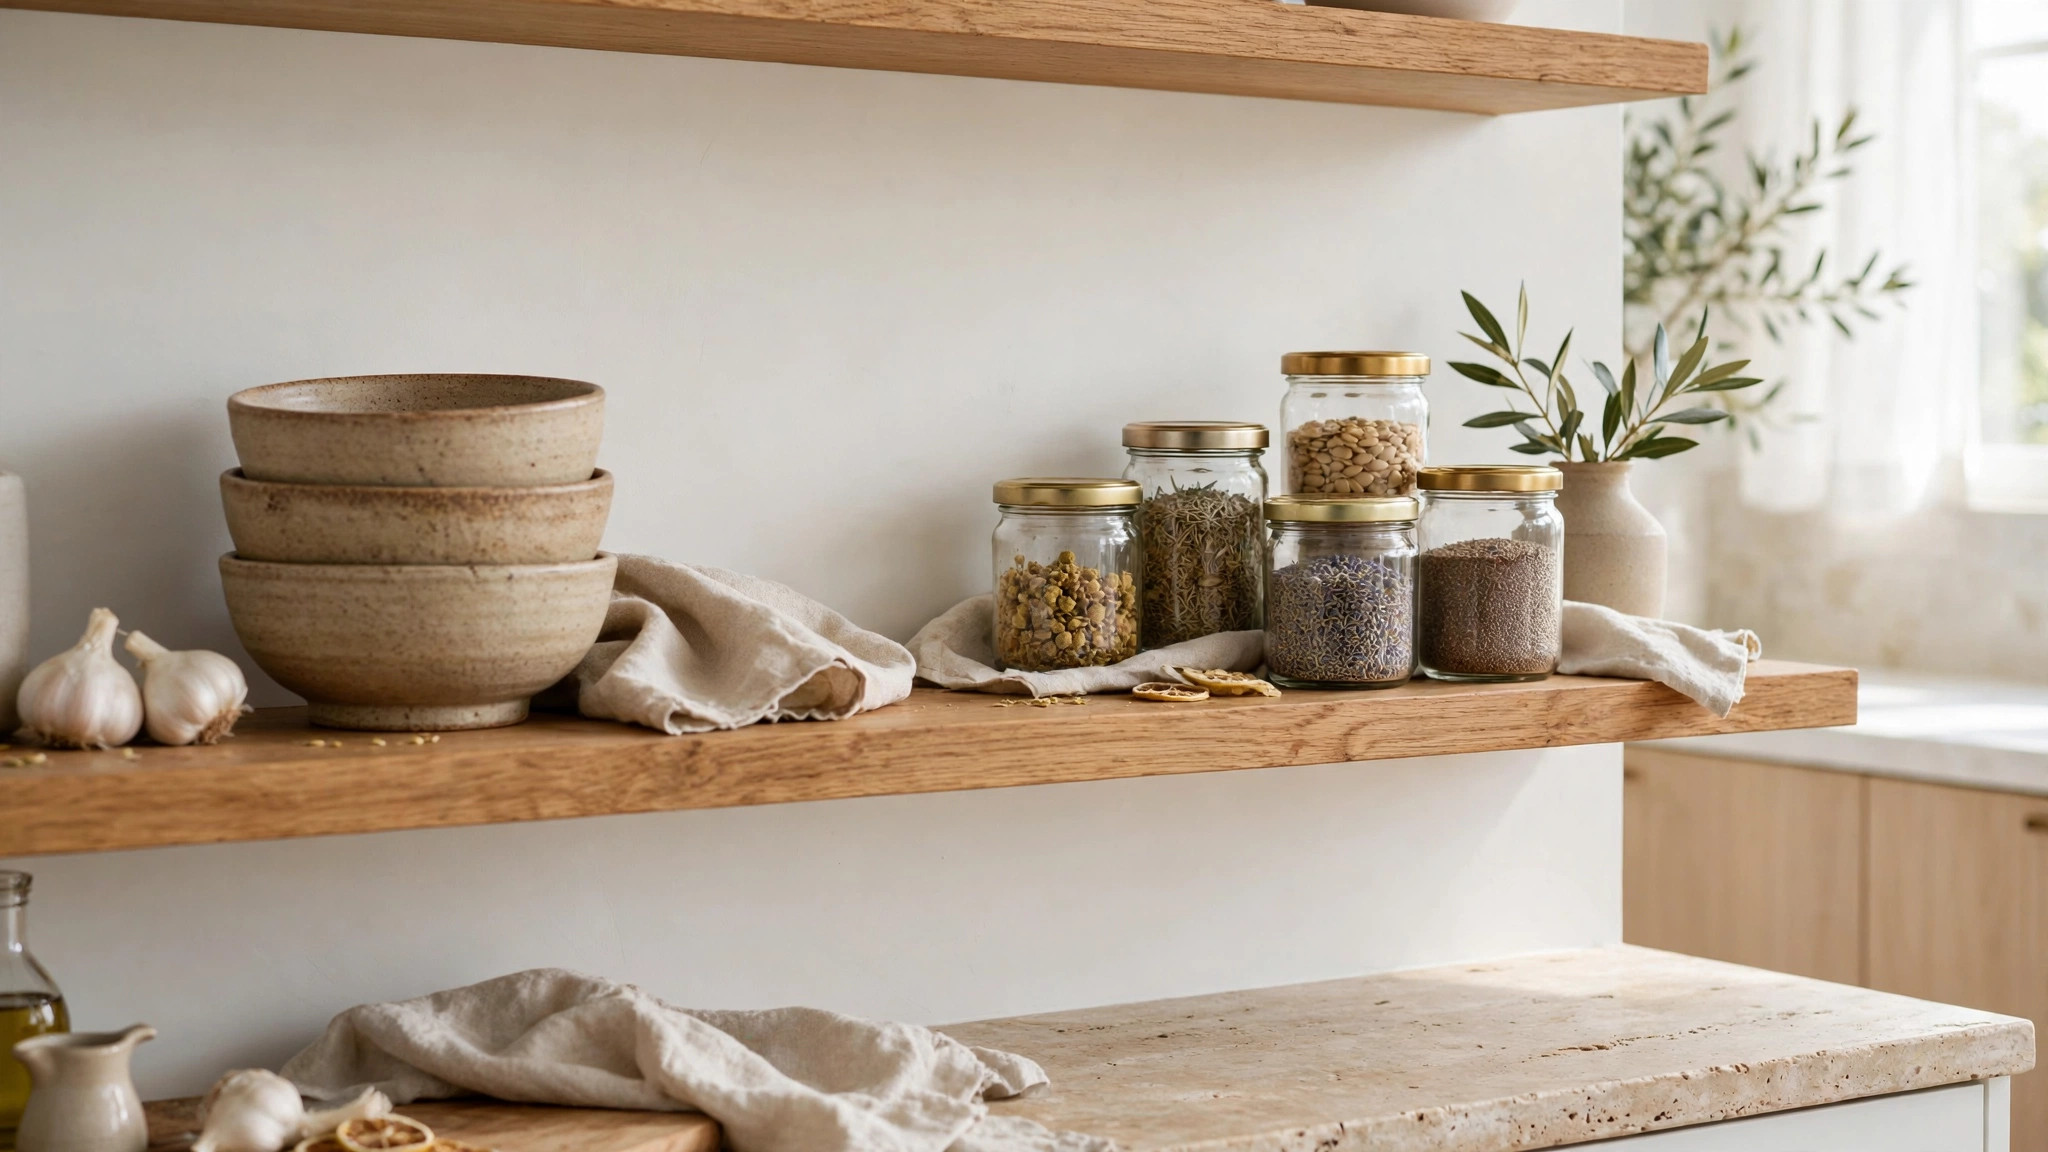
3. Vary the Heights
A shelf where everything sits at the same height looks flat and boring. Create a skyline: tall pitchers next to short stacks of bowls, a medium vase beside low ramekins. If everything you own is short, add height with a small riser, a stack of cookbooks, or an upside-down bowl as a pedestal.
Budget tip: A $3 wooden crate on its side makes a perfect shelf riser.
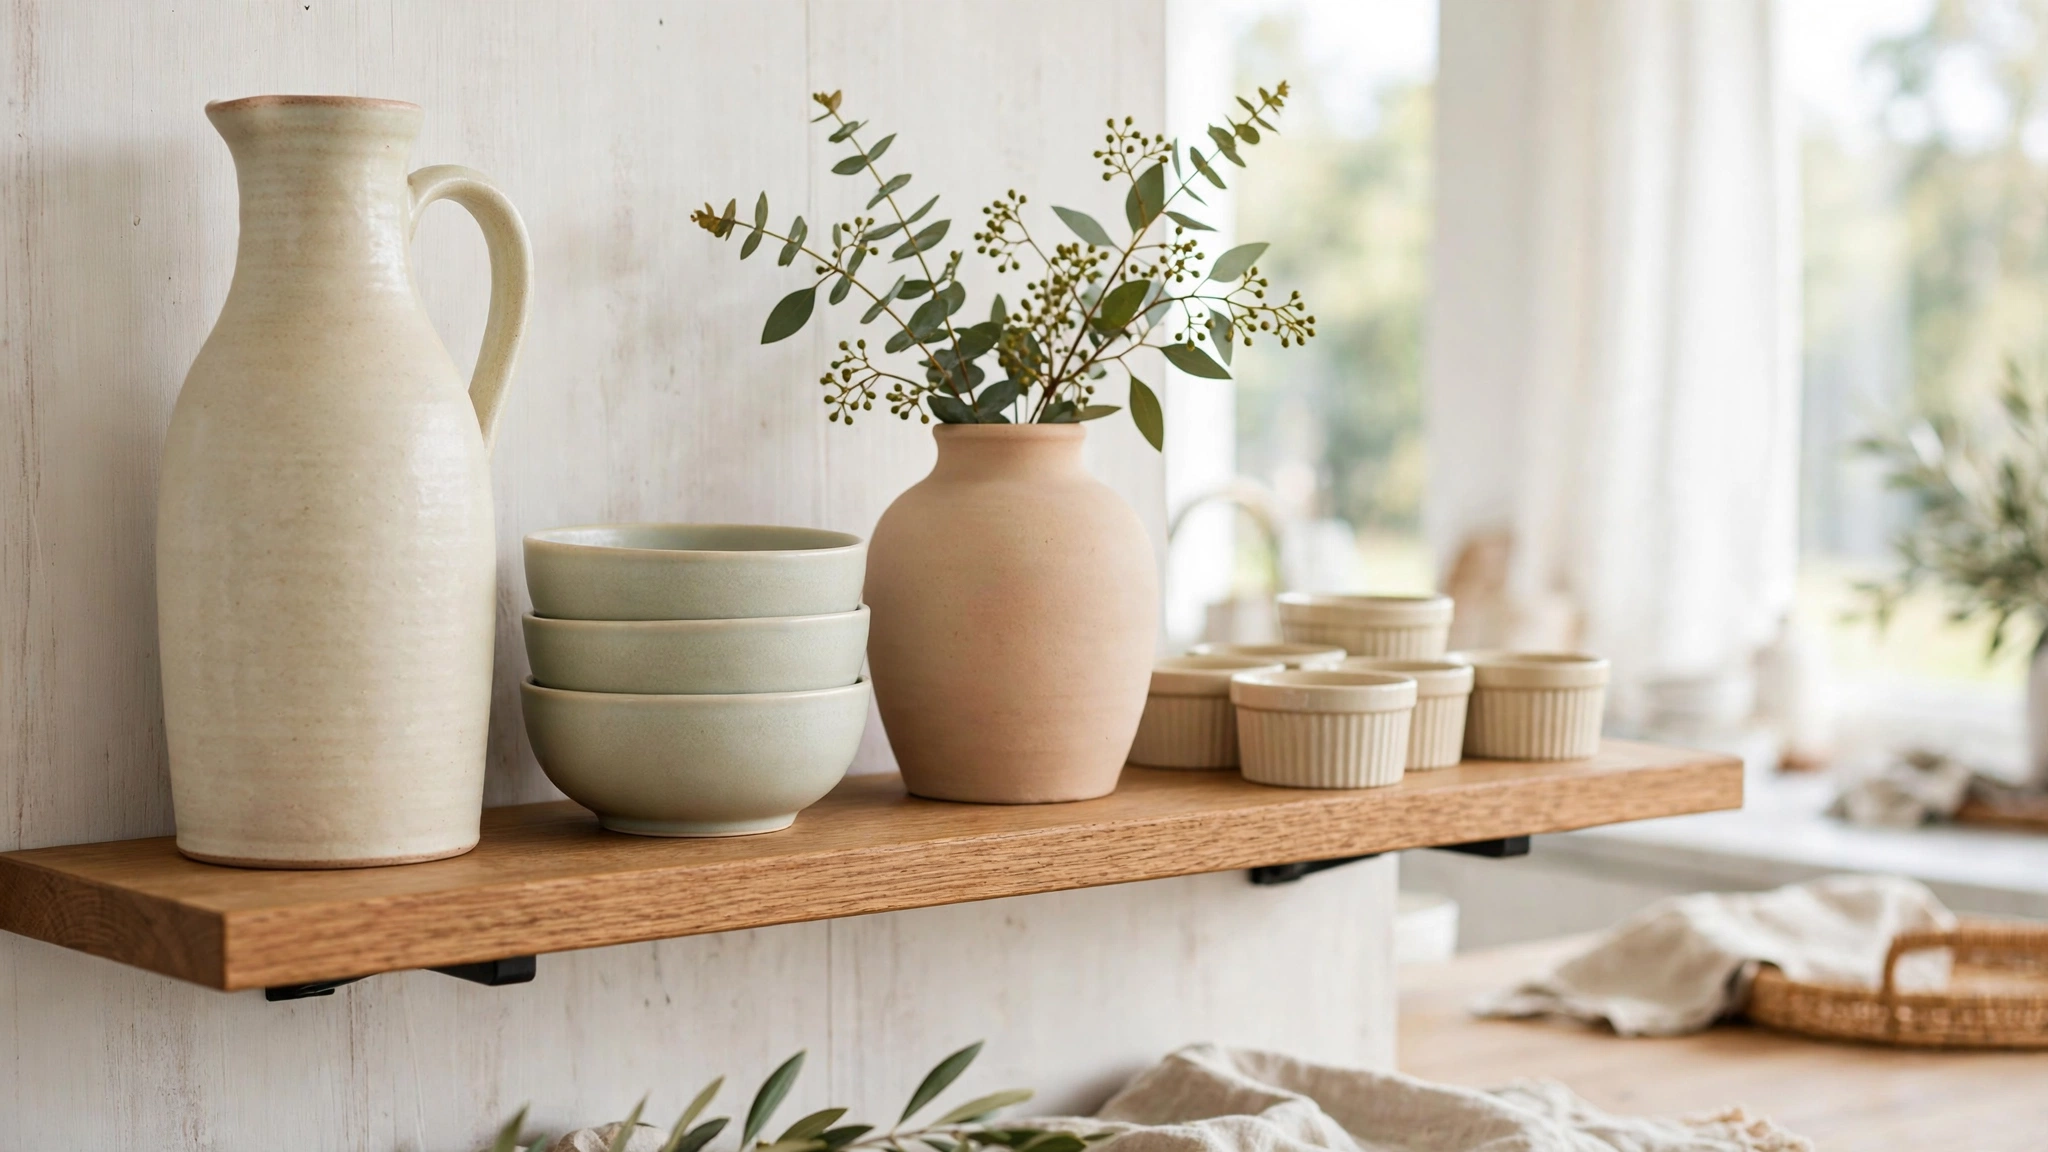
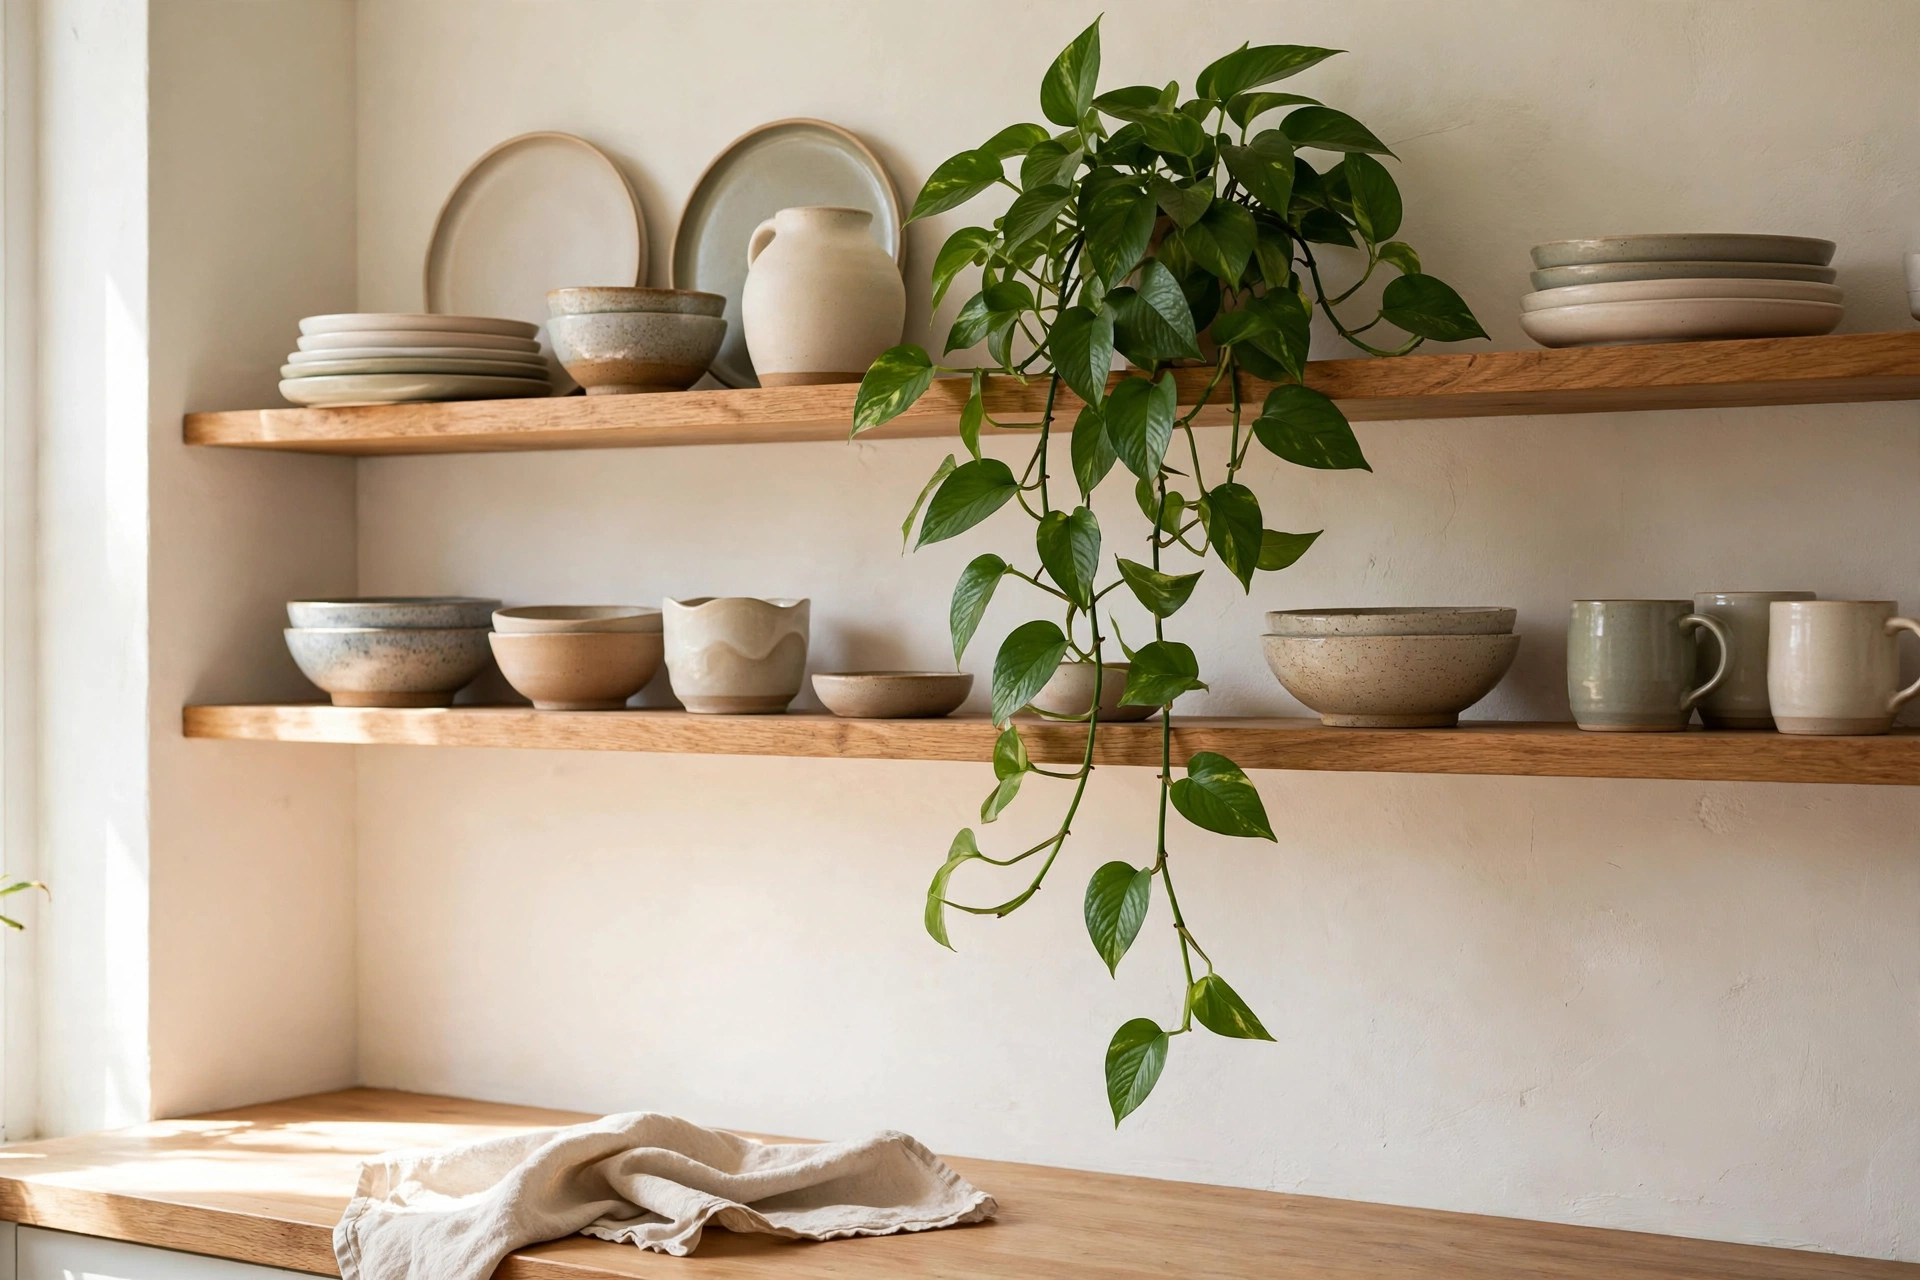
4. Add One Trailing Plant Per Shelf
Nothing softens a shelf of hard ceramics like a living plant spilling over the edge. Pothos, string of pearls, and philodendron all thrive in kitchen humidity and forgive forgetful watering. One plant per shelf is the sweet spot — more than that and it starts looking like a greenhouse.
Budget tip: Propagate cuttings from a friend’s pothos; they root in water in about two weeks.
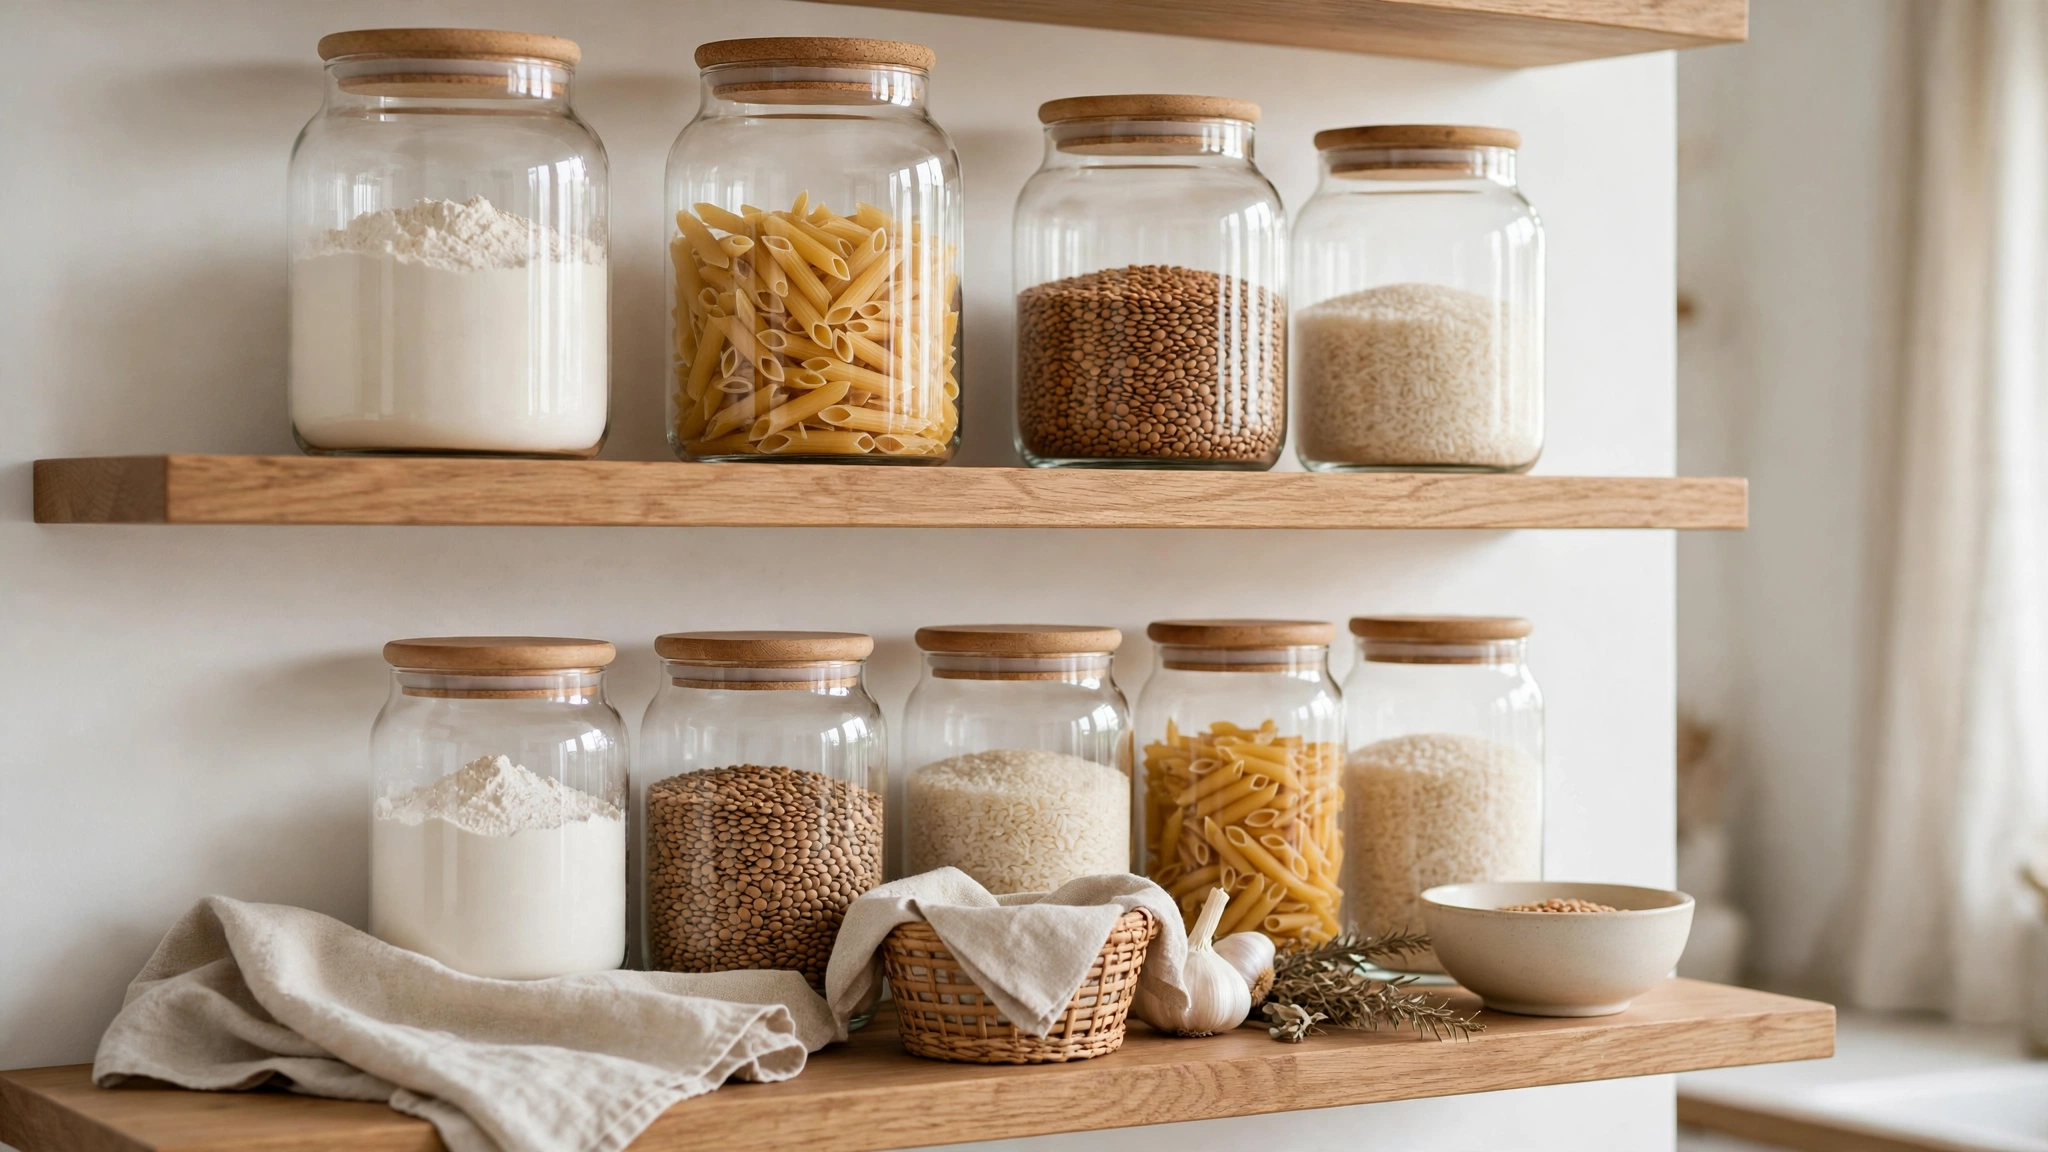
5. Decant Dry Goods Into Matching Jars
Flour, rice, lentils, and pasta look a hundred times better in matching glass jars than in their store packaging. Beyond looks, you’ll actually see when you’re running low. You don’t need a full apothecary set — five or six jars in two sizes, with simple handwritten labels, does the job.
Budget tip: Thrift stores sell glass jars for under a dollar; soak off old labels with warm soapy water.
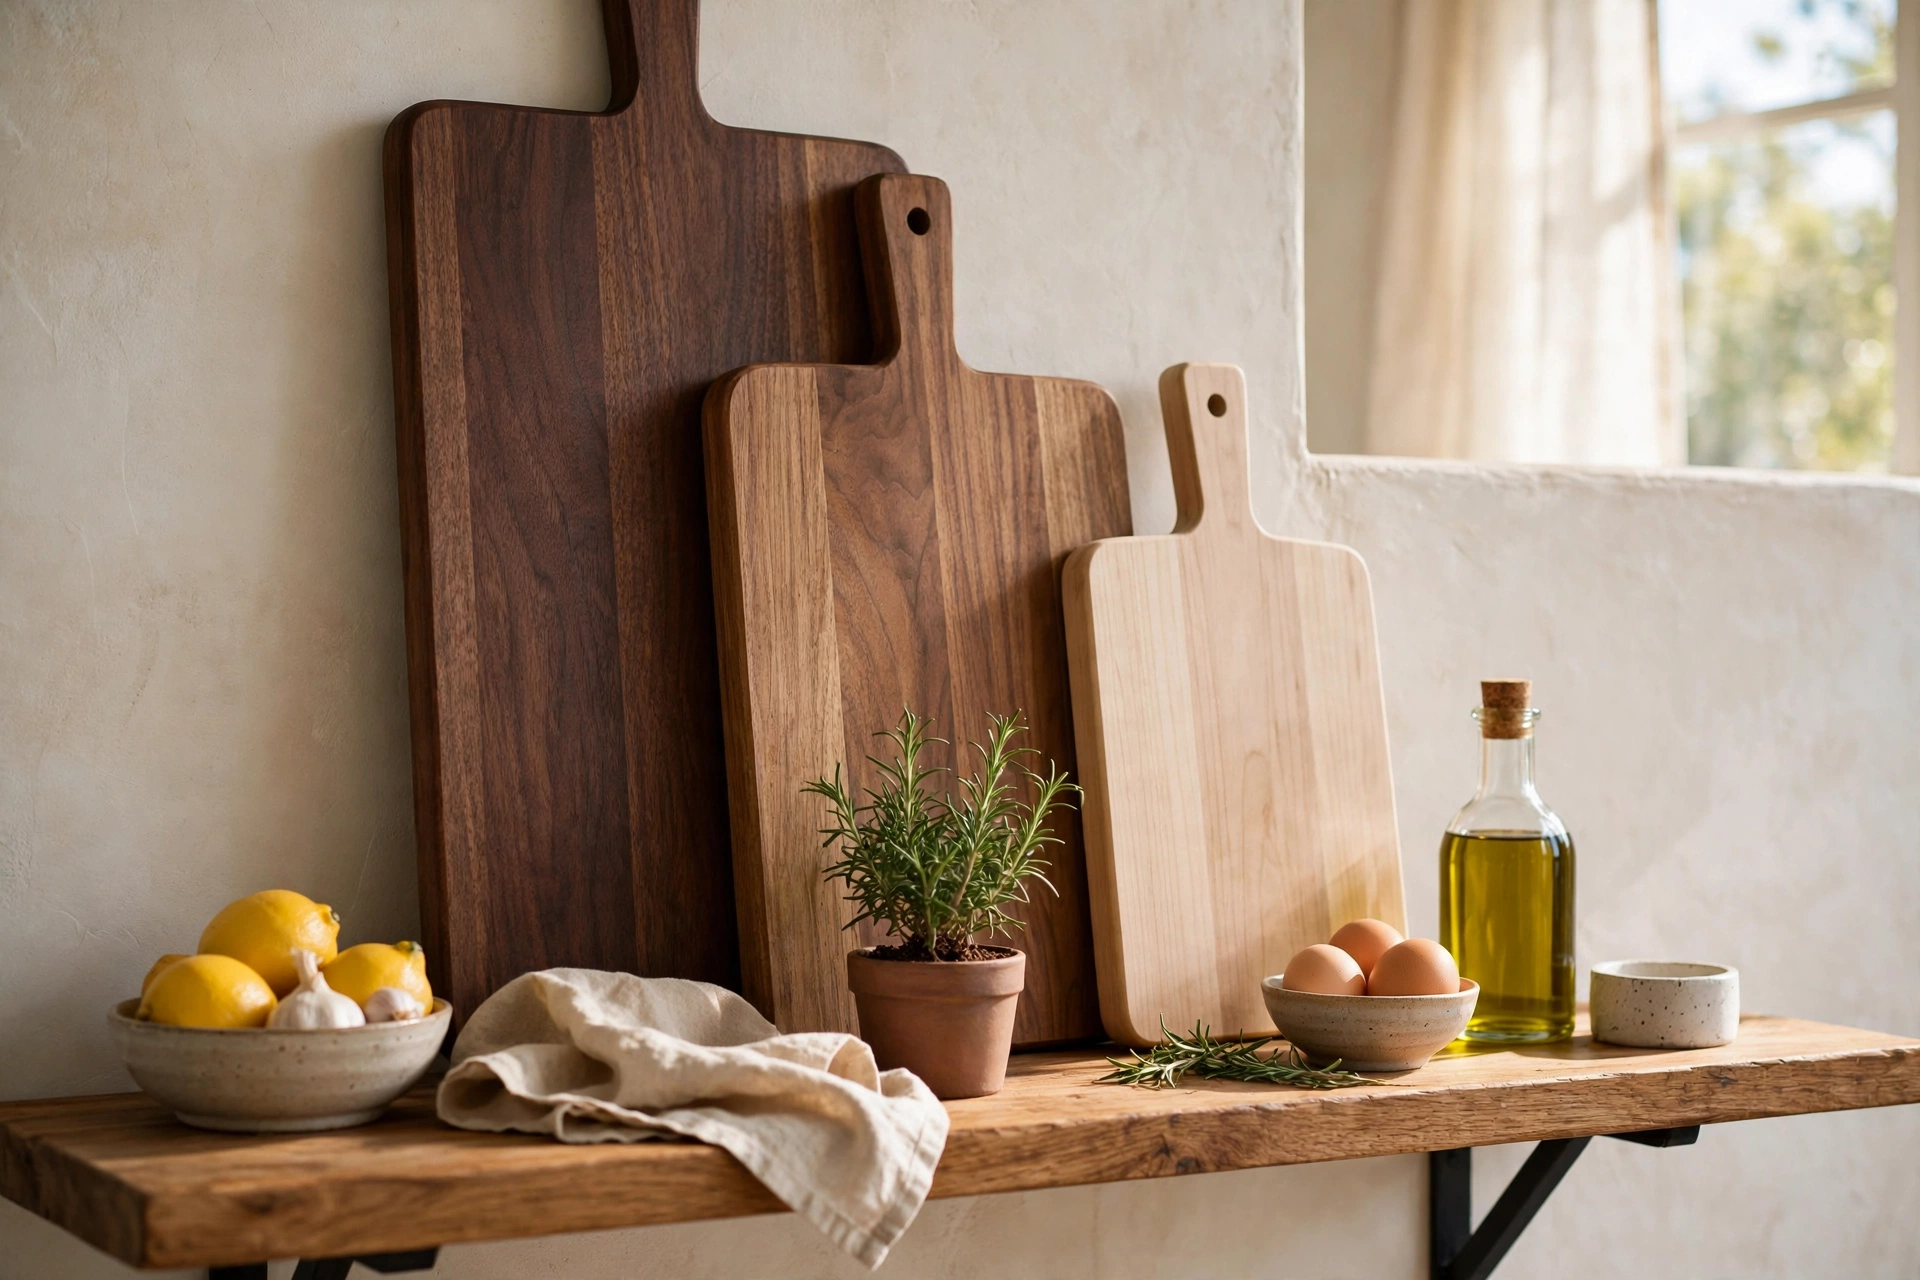
6. Lean Cutting Boards Against the Wall
Wooden cutting boards are functional art. Lean two or three of different sizes and wood tones against the wall at the back of a shelf for instant warmth and texture. They fill vertical space beautifully and you can grab one when it’s time to chop.
Budget tip: Bamboo boards are the cheapest good-looking option and they’re gentle on knives too.
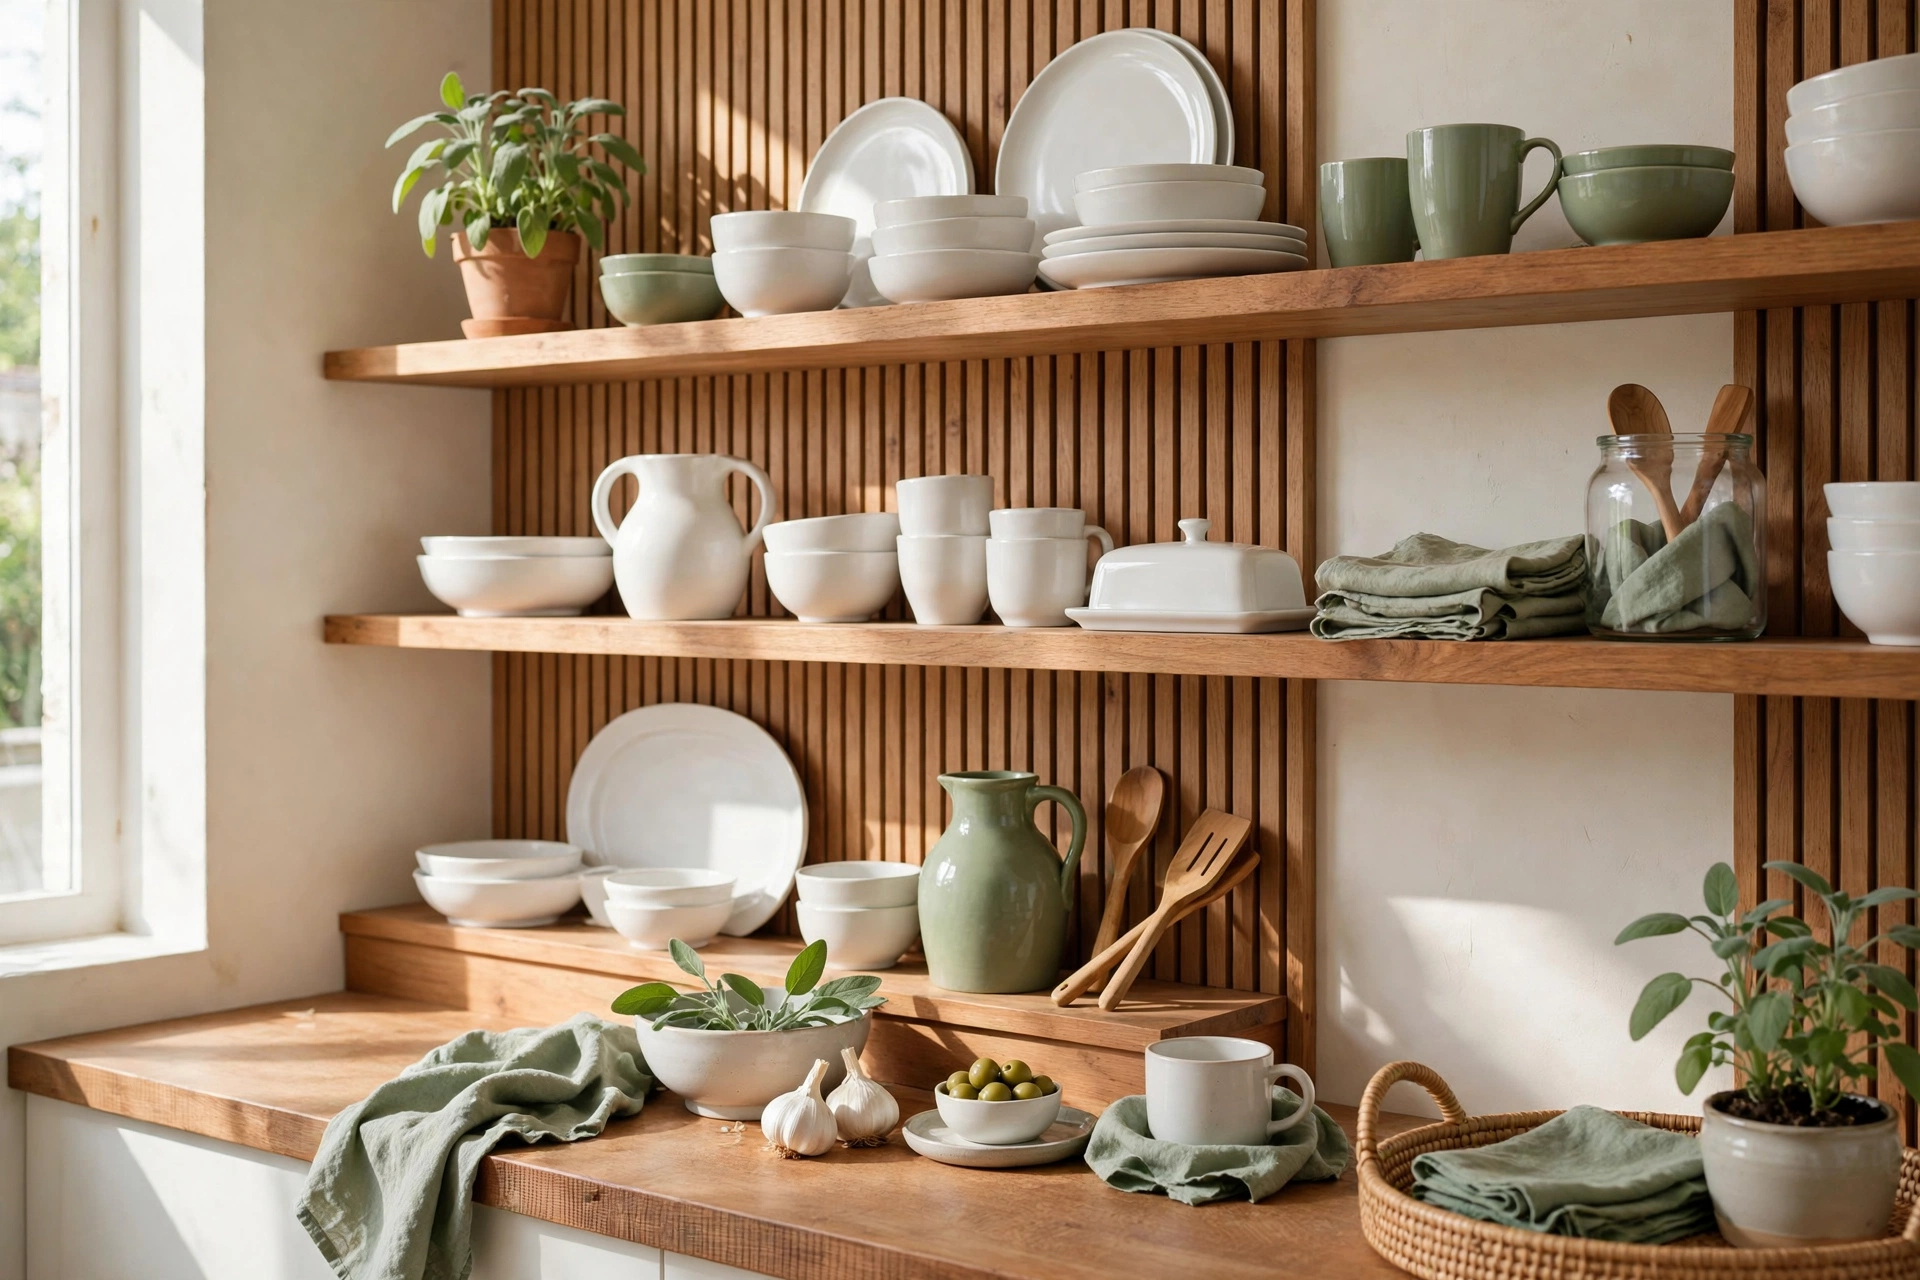
7. Stick to a Tight Color Palette
The fastest way to make shelves look chaotic is too many competing colors. Pick two or three — white plus wood plus one accent (sage green, terracotta, navy) — and let everything on the shelf live inside that family. Your eye reads it as calm and curated even when the shelf is fully stocked.
8. Mix Your Materials
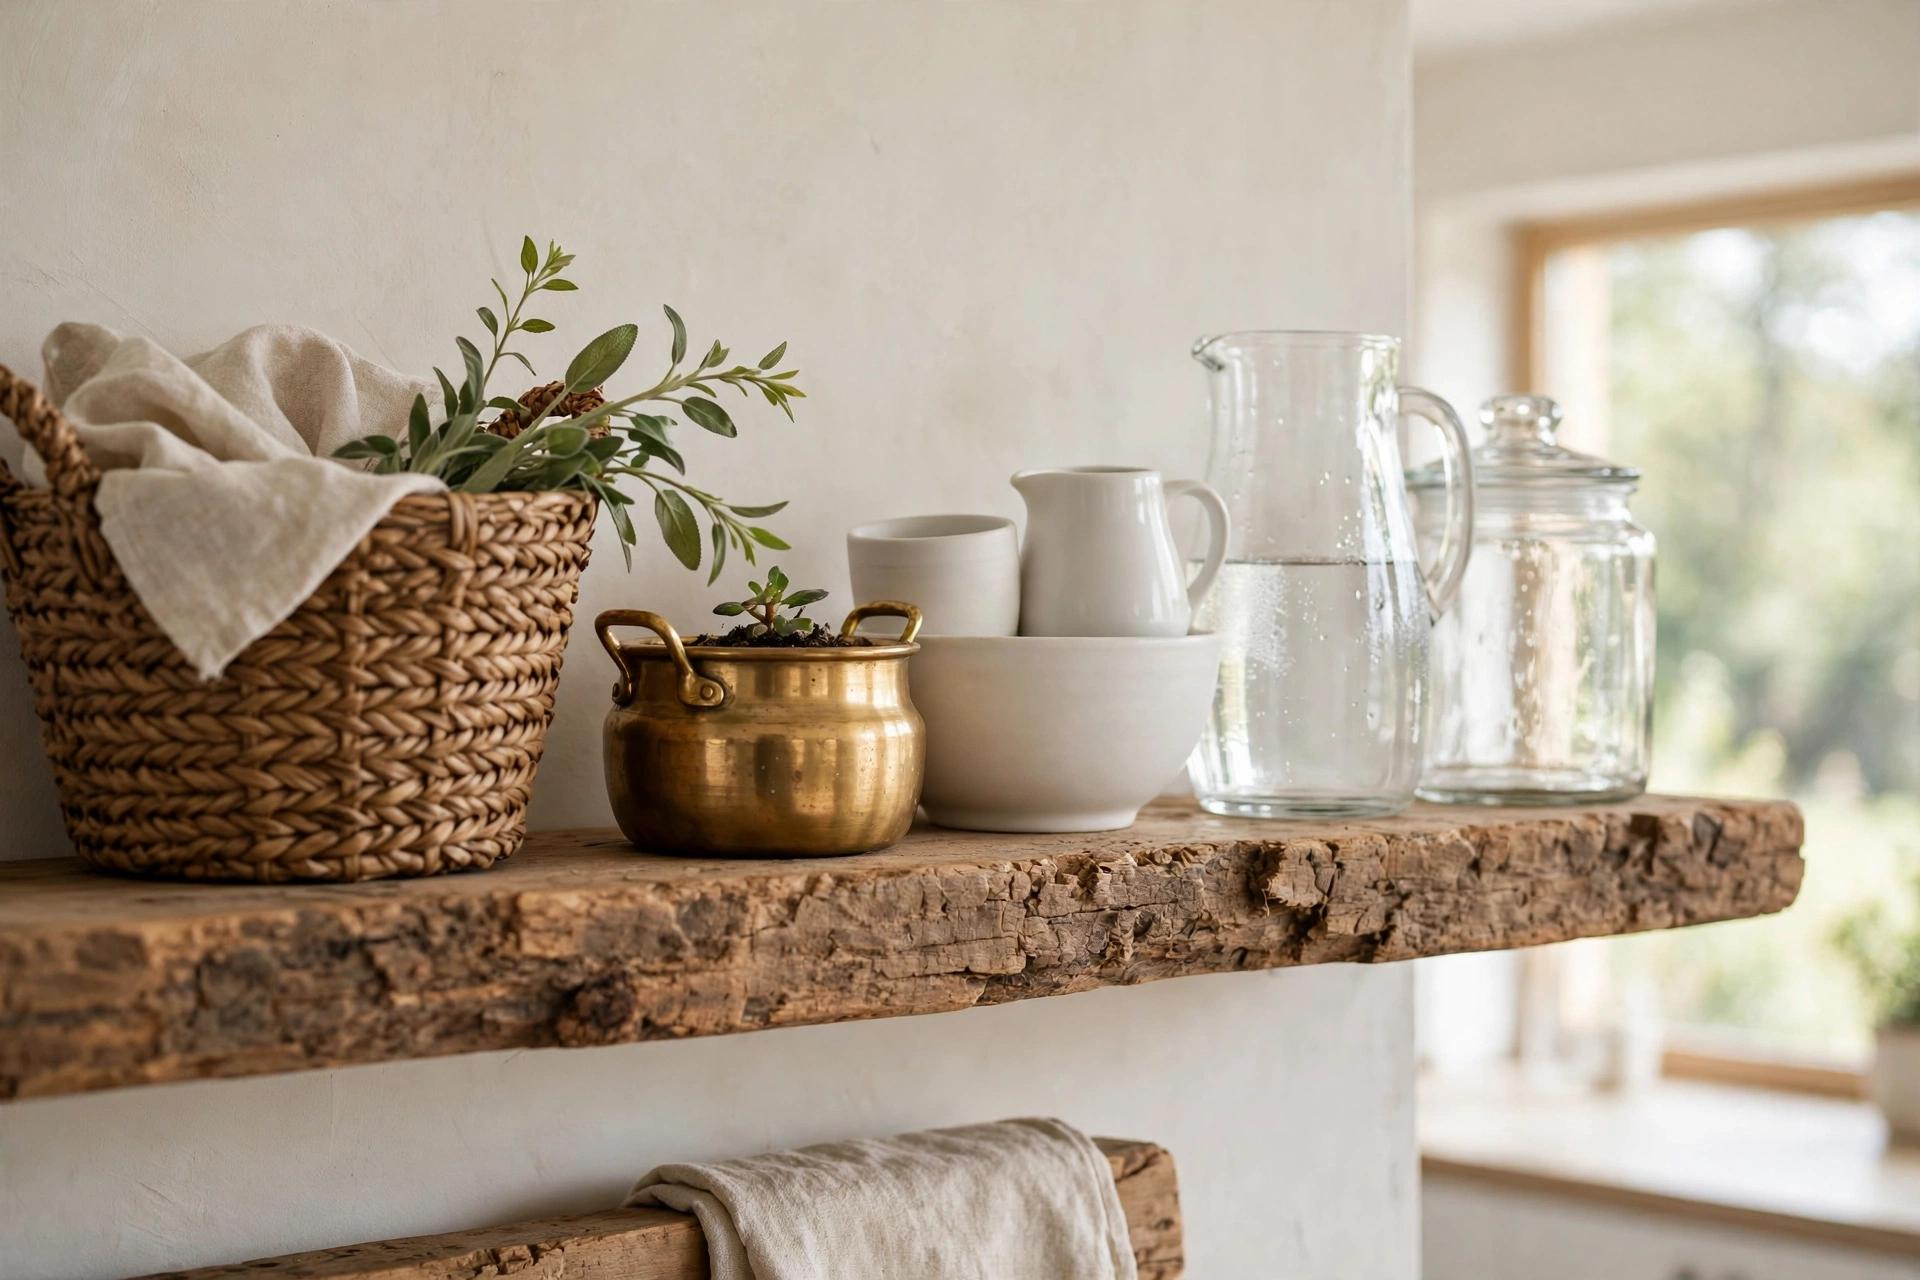
All ceramic looks flat; all glass looks cold. The magic is in the mix: rough wood against smooth ceramic, clear glass beside woven baskets, a little brass or copper for warmth. Aim for at least three different materials per shelf and the whole thing comes alive.
Budget tip: A single woven basket adds more texture per dollar than almost anything else.
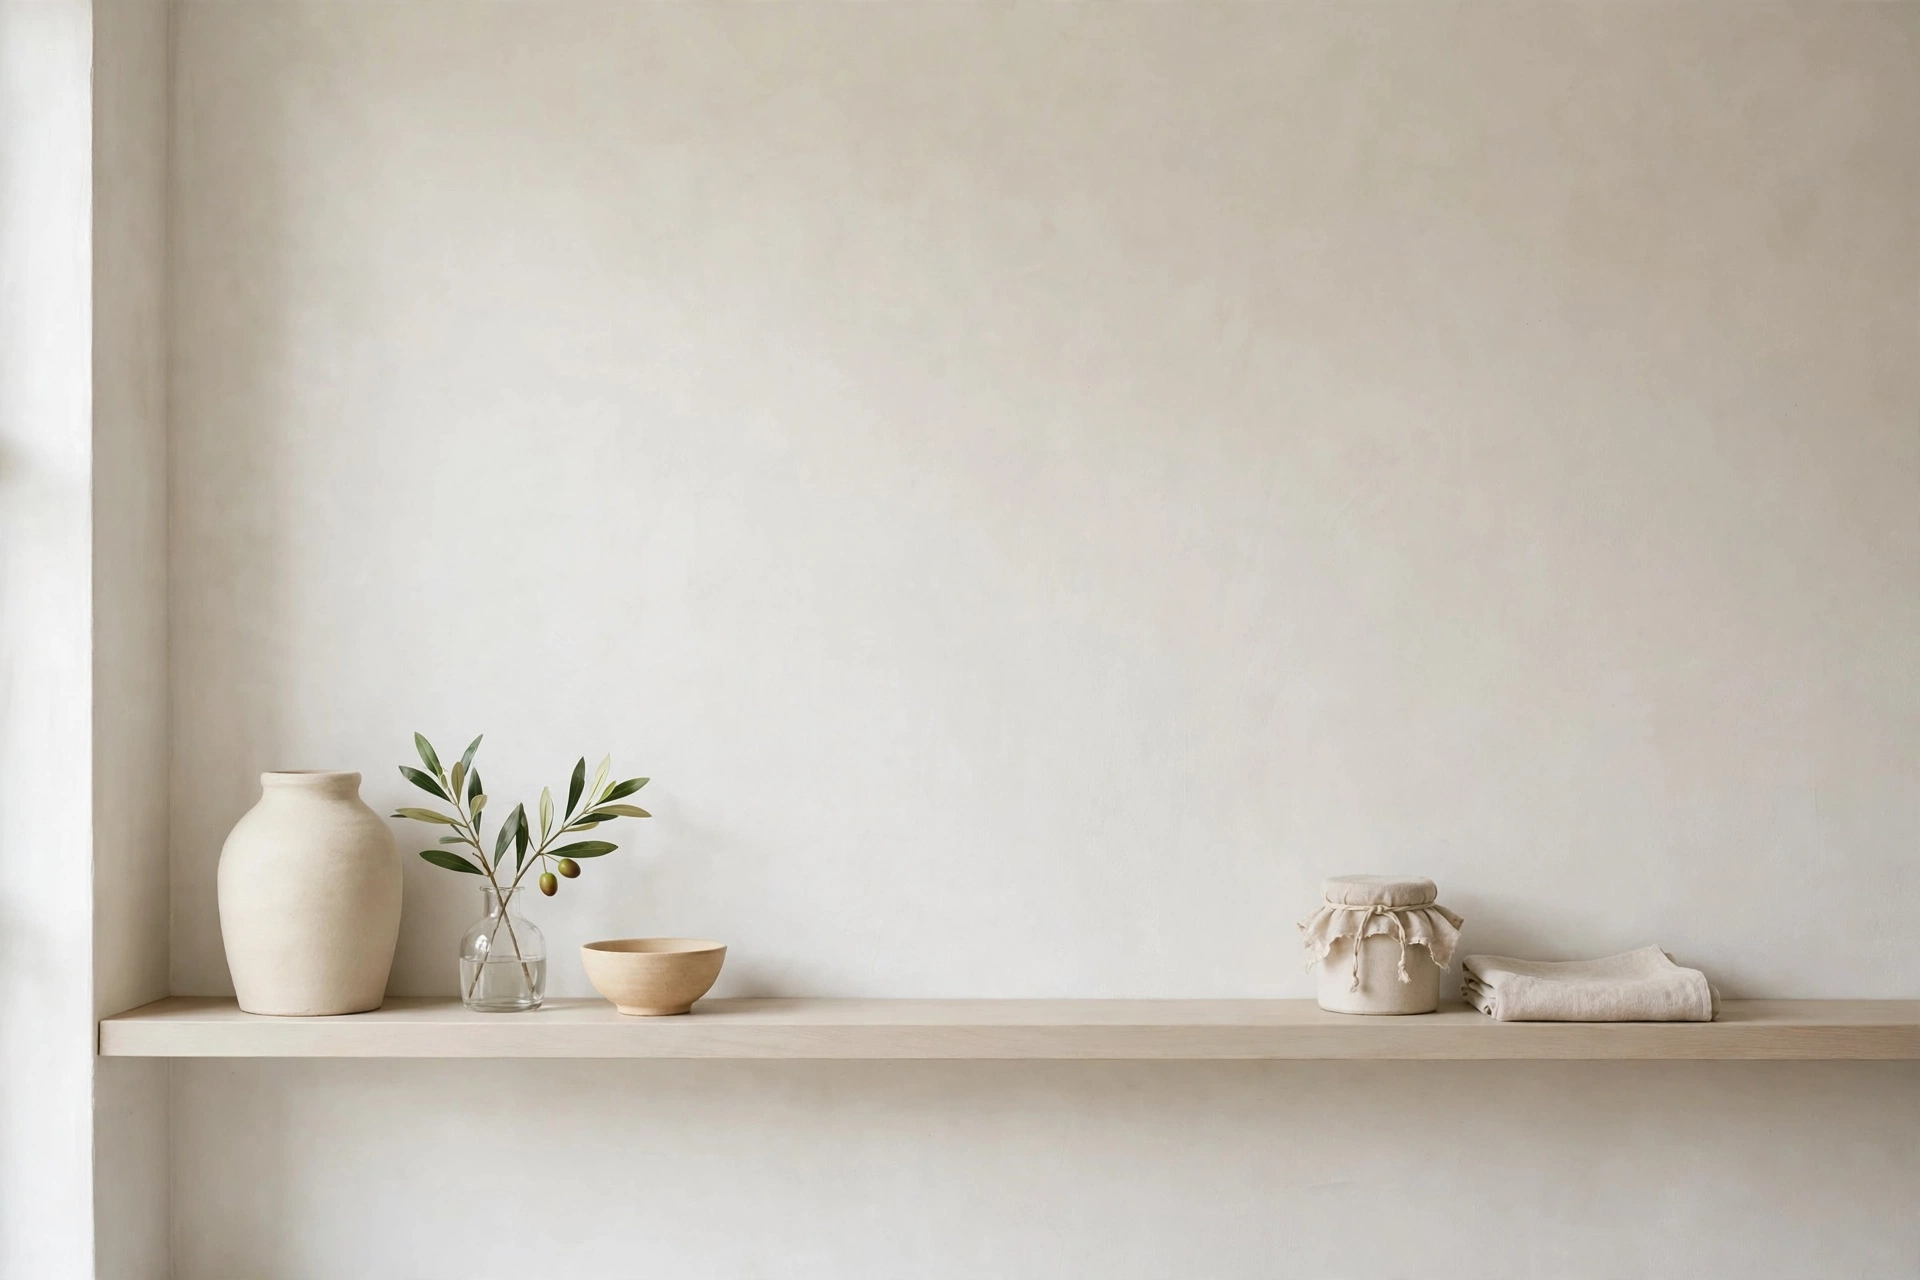
9. Leave Breathing Room
The number-one styling mistake is filling every inch. Negative space is what makes the styled objects look special — aim to leave about a third of each shelf empty. If your shelves are stuffed, you’re not styling, you’re storing, and that’s a sign you need to edit down or add another shelf.
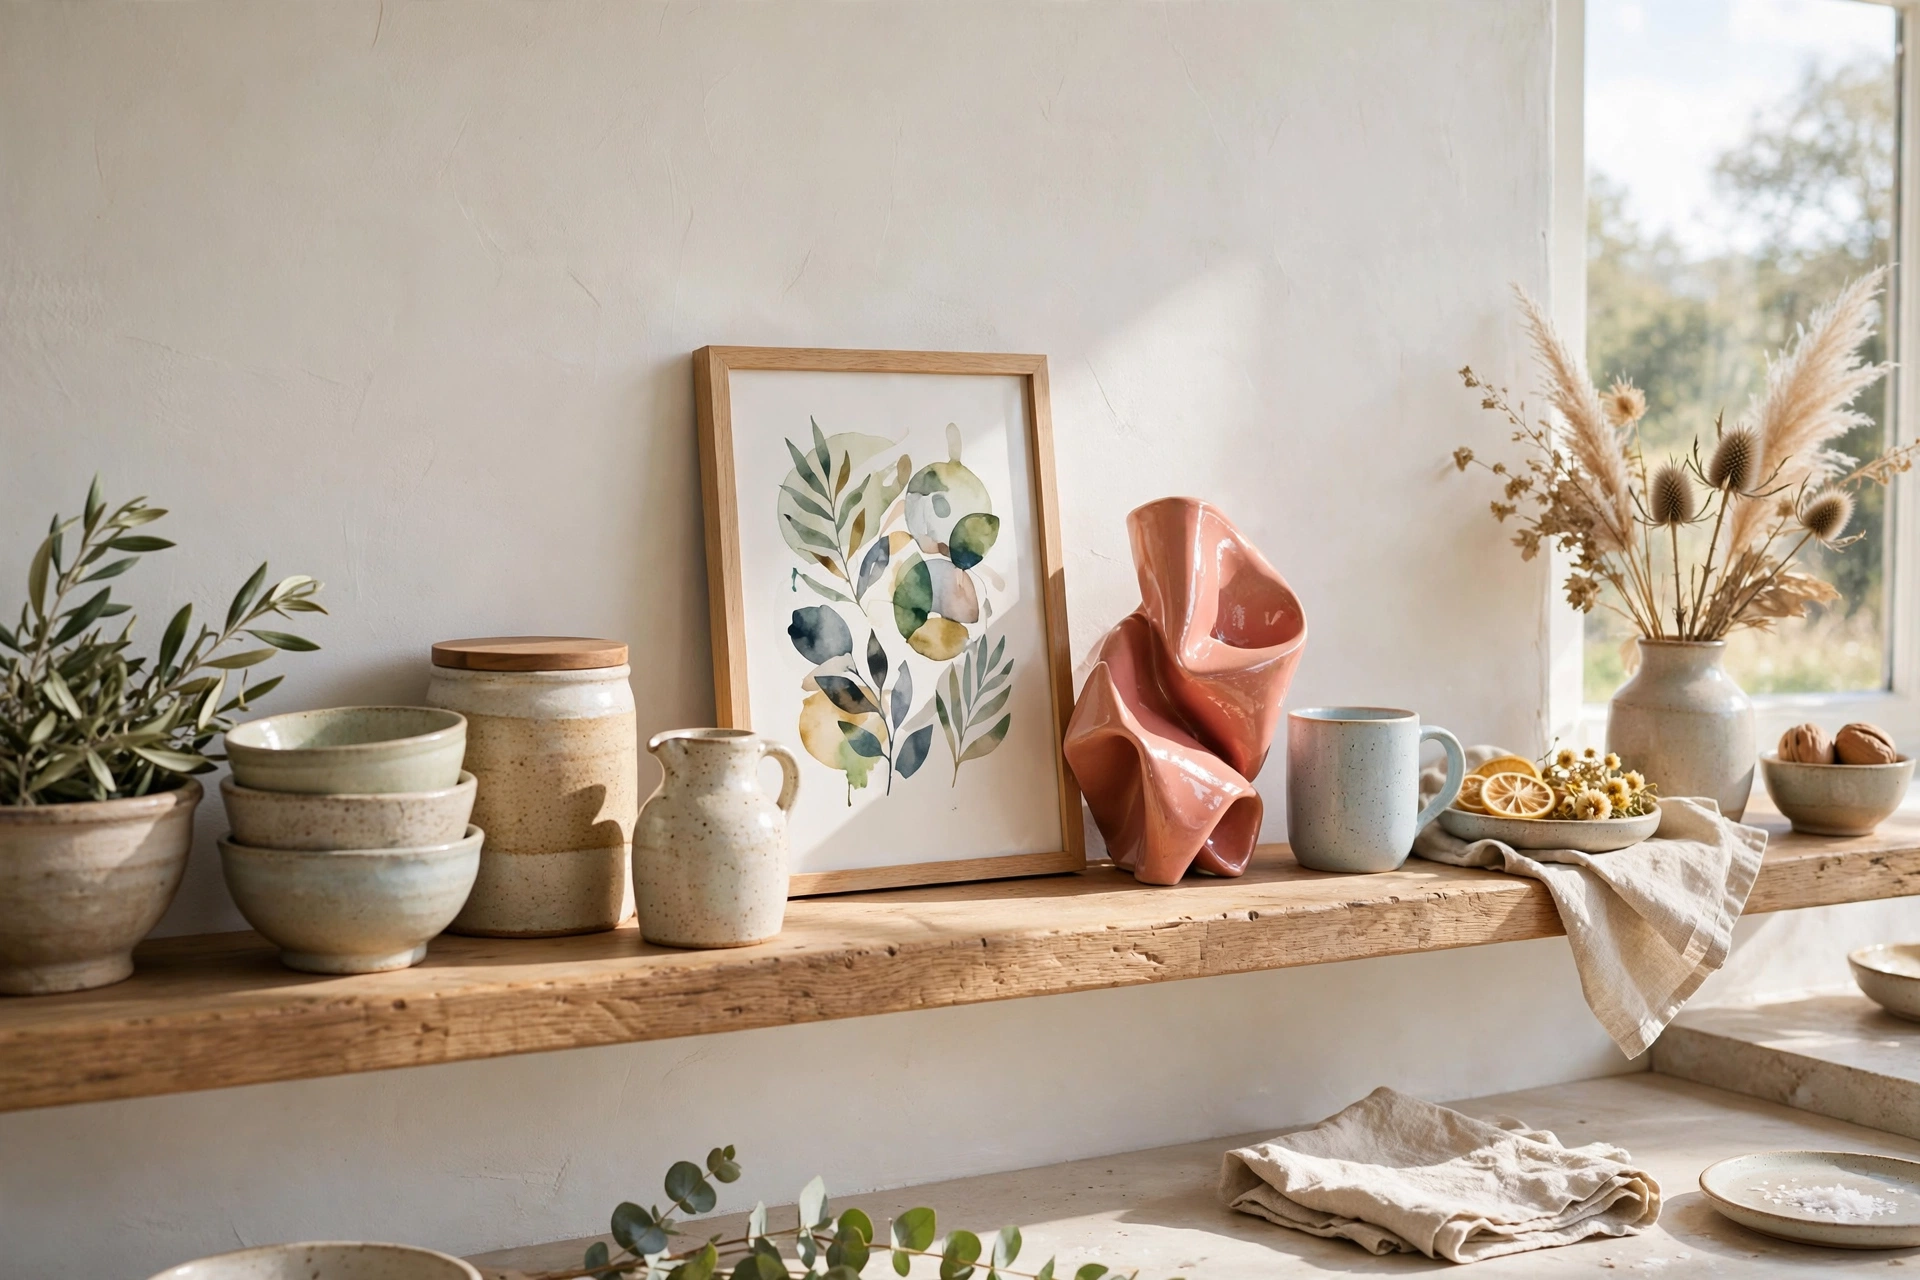
10. Tuck In Small Art
A small framed print, a vintage food advertisement, or even a pretty postcard leaned against the wall turns a storage shelf into a designed moment. Art is unexpected in a kitchen, which is exactly why it works. Keep it small — 5×7 or 8×10 — so it reads as an accent, not a gallery wall.
Budget tip: Free public-domain botanical prints look incredible in cheap thrifted frames.
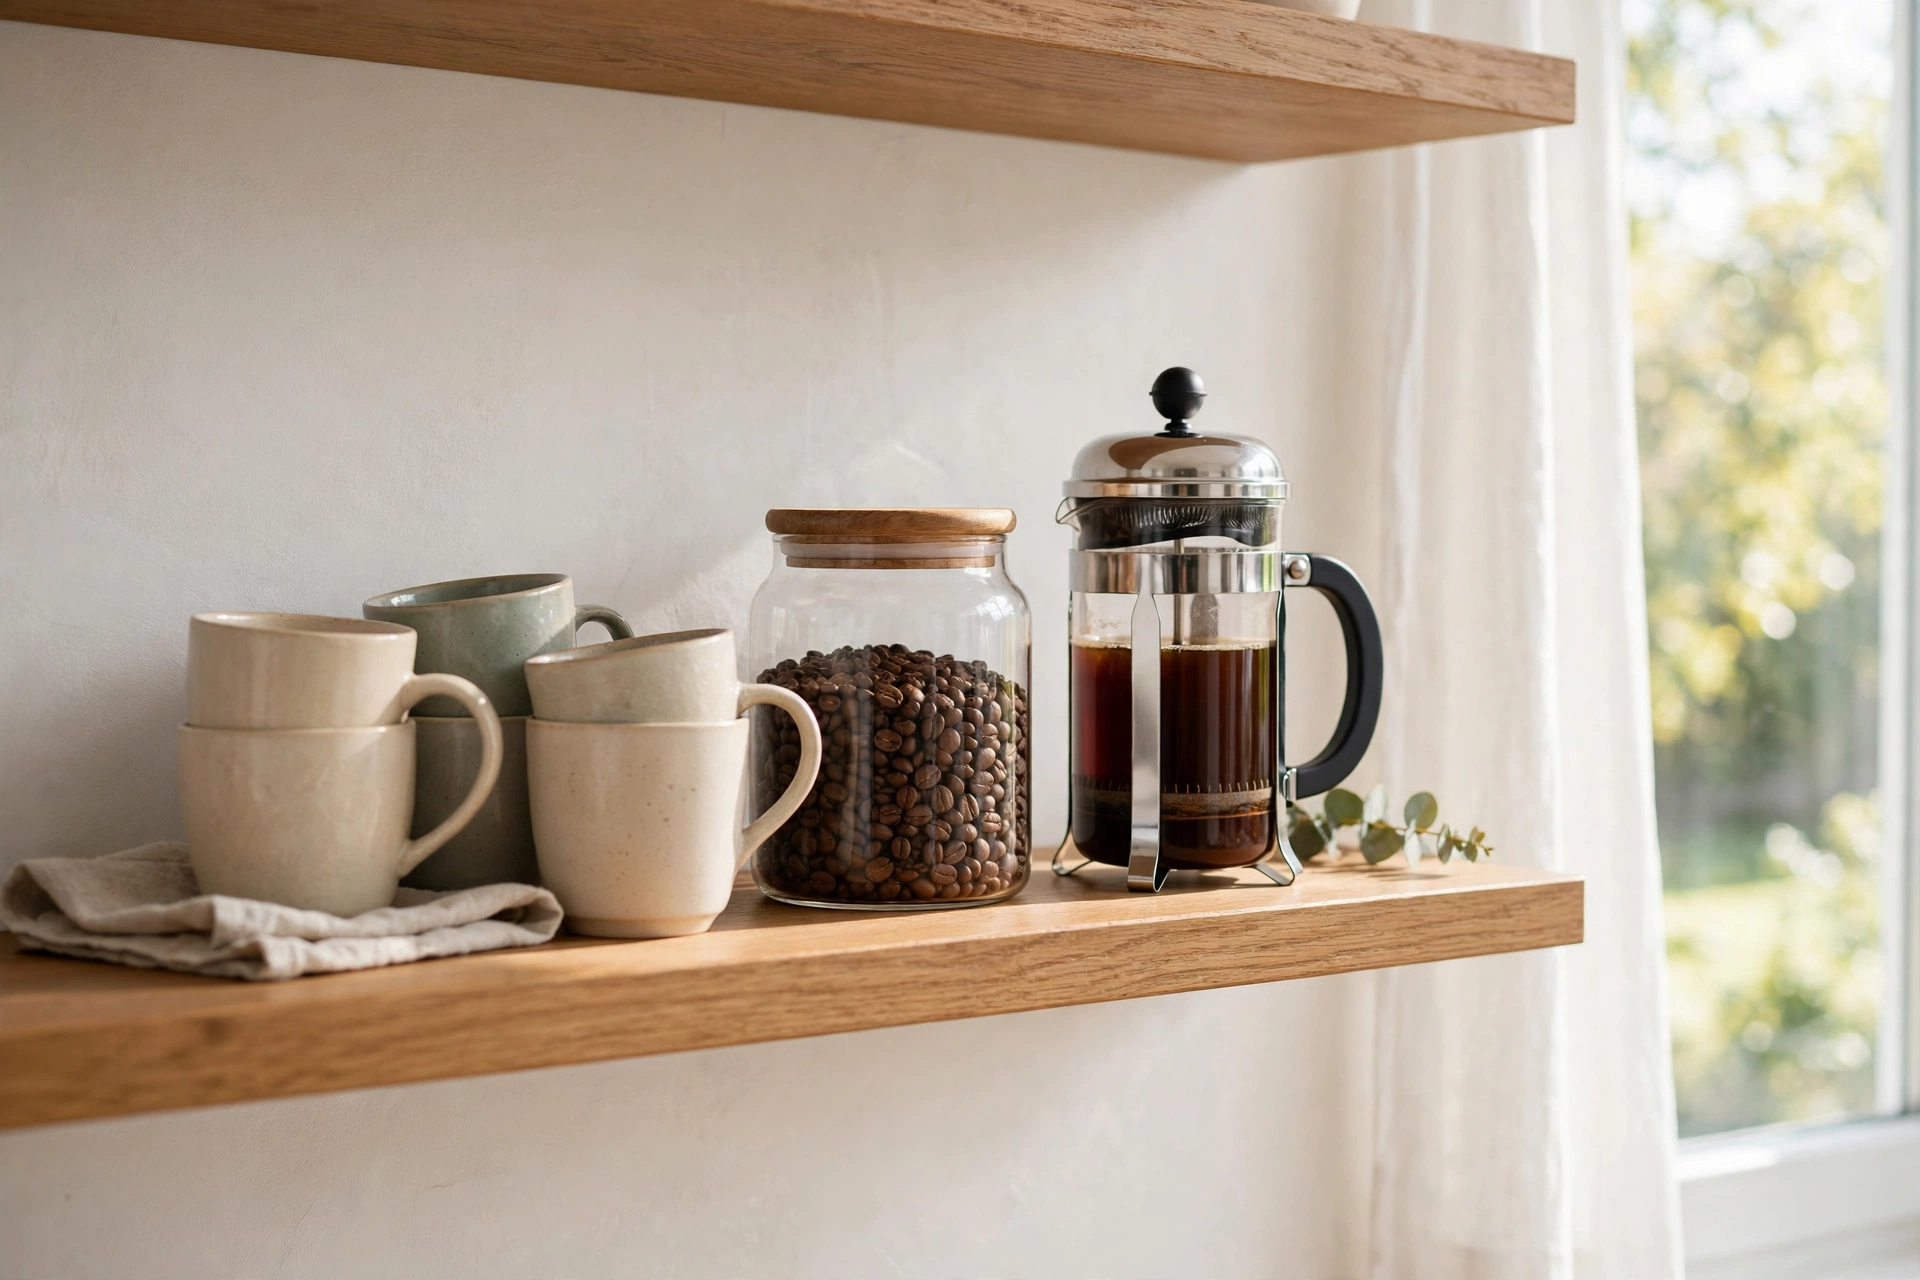
11. Style by Zone
Instead of scattering randomly, give each shelf a job: one for the coffee station (mugs, beans, French press), one for cooking (oils, salts, utensils), one for serving (platters, bowls). Zoned shelves look intentional and they make your kitchen workflow smoother — everything you need for a task lives together.
12. Do One Seasonal Swap
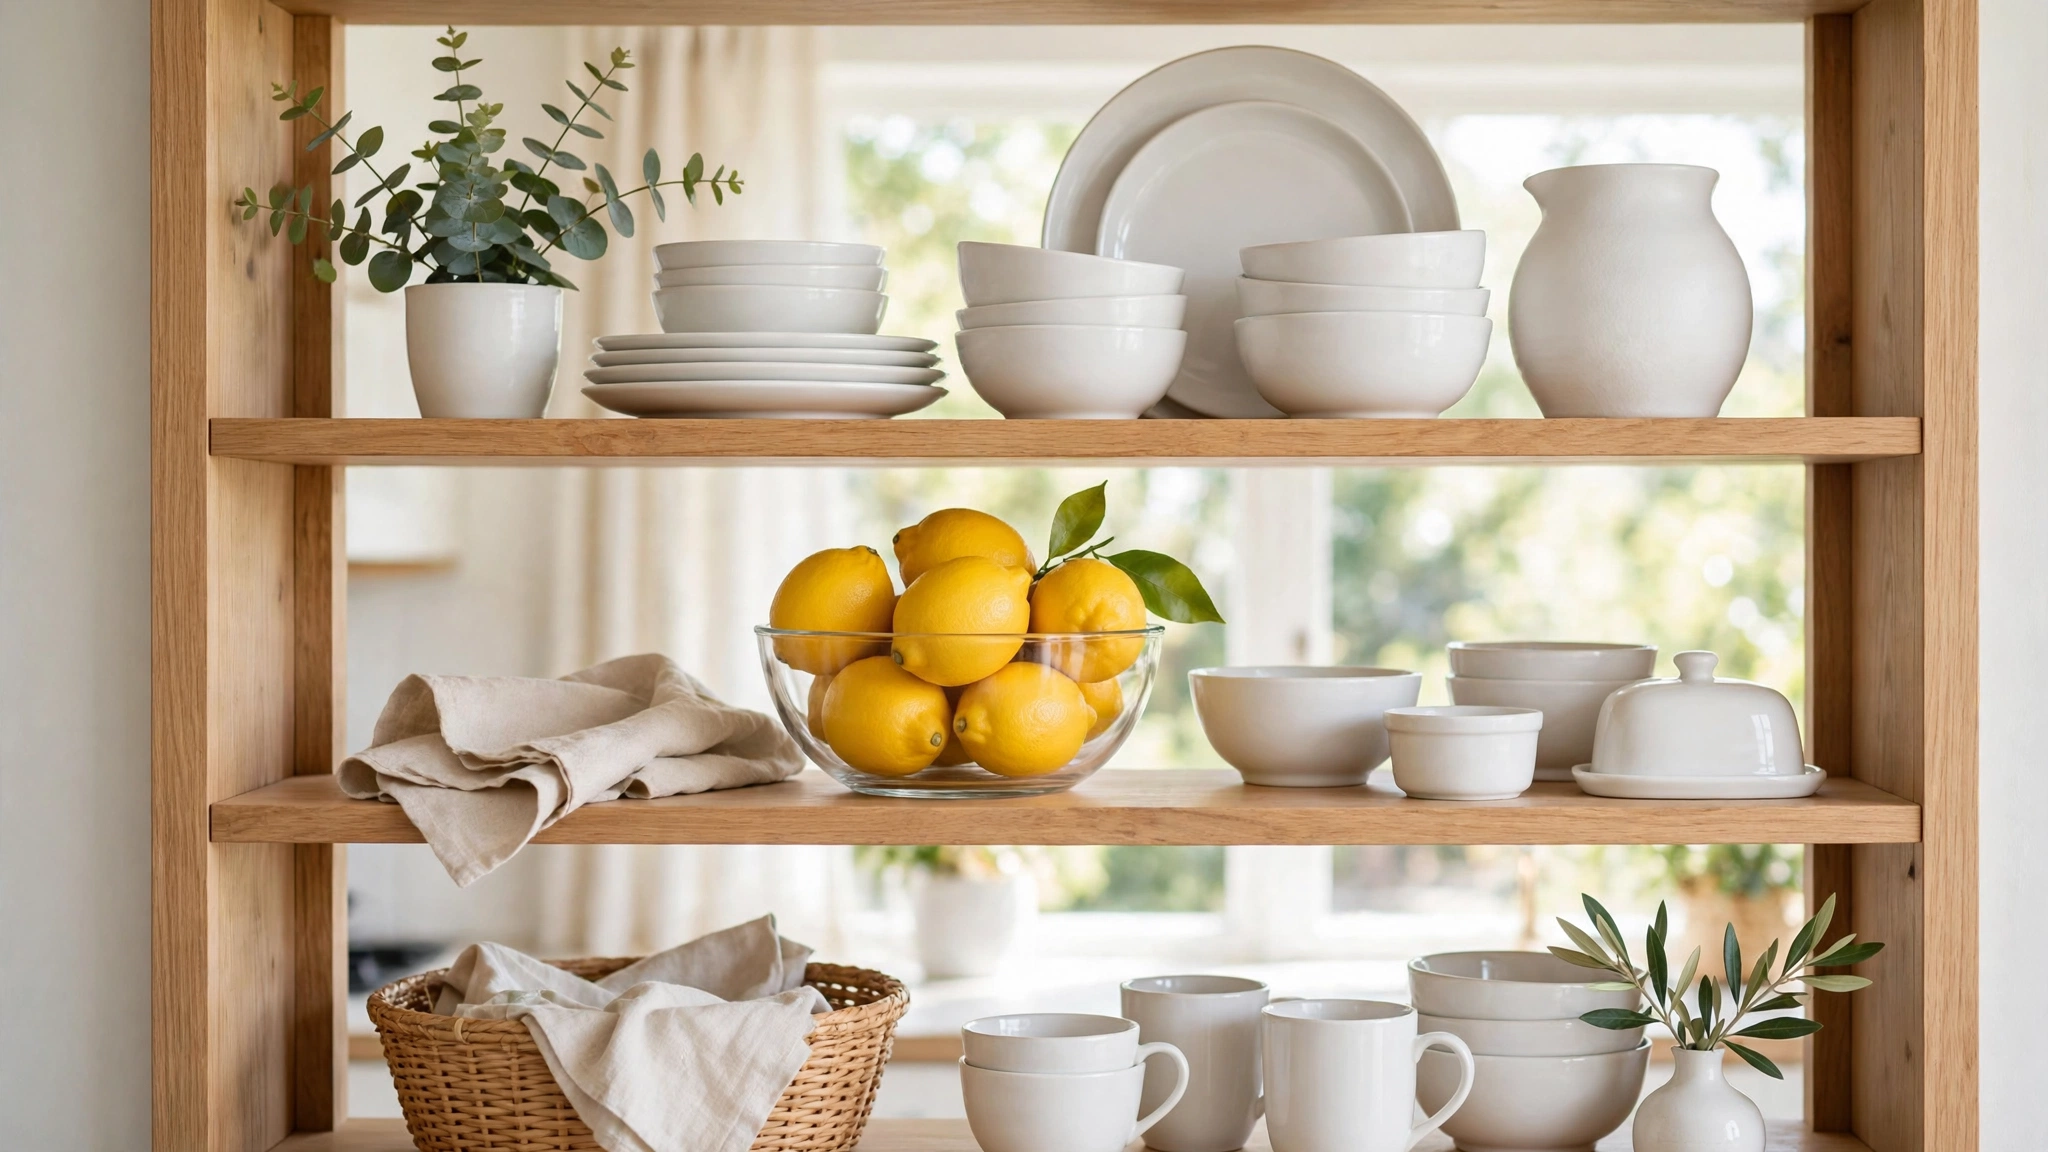
Keep your shelf styling 90% permanent and swap one small thing with the seasons: a tiny pumpkin in fall, eucalyptus stems in winter, lemons in a bowl in summer. It keeps the kitchen feeling fresh and gives you an excuse to re-style twice a year without starting over.
Budget tip: Grocery-store produce doubles as free seasonal decor — a bowl of lemons costs less than any decoration.
The Takeaway
Great shelf styling isn’t about owning beautiful things — it’s about arranging ordinary things beautifully. Start by pulling everything off, clean the shelves, then put back only what earns its place using the odd-numbers and breathing-room rules. Step back, squint, and adjust. In an afternoon, your shelves can go from storage to statement.